
I shared our finished mudroom yesterday, but here are some of the projects that made it all come together.
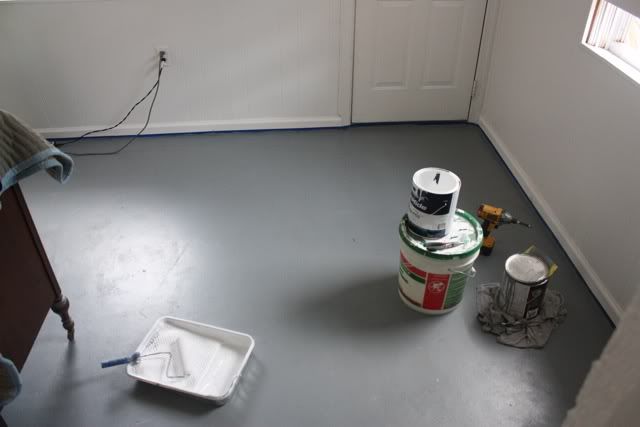
1) Ripping up the carpet. Josh sanded the floor to get all the glue off, then washed it with muriatic acid so it was a clean work surface. He filled in the carpet nail holes with cement and then painted and sealed the entire surface. This also meant getting new baseboards.
1) Ripping up the carpet. Josh sanded the floor to get all the glue off, then washed it with muriatic acid so it was a clean work surface. He filled in the carpet nail holes with cement and then painted and sealed the entire surface. This also meant getting new baseboards.
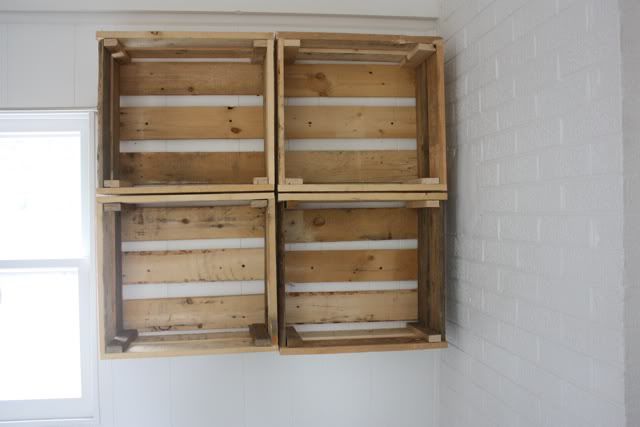
2) Building crates out of free pallets.
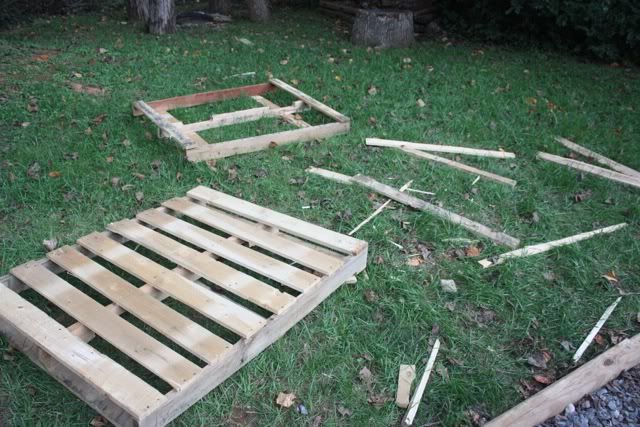
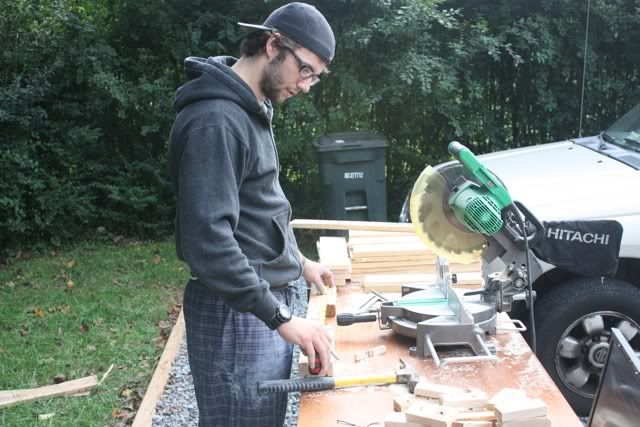
We measured the wall we wanted the crates on and decided we wanted 4 crates. Then Josh did the math and cut up the pallet wood in order to make 4 identical crates for shoes.
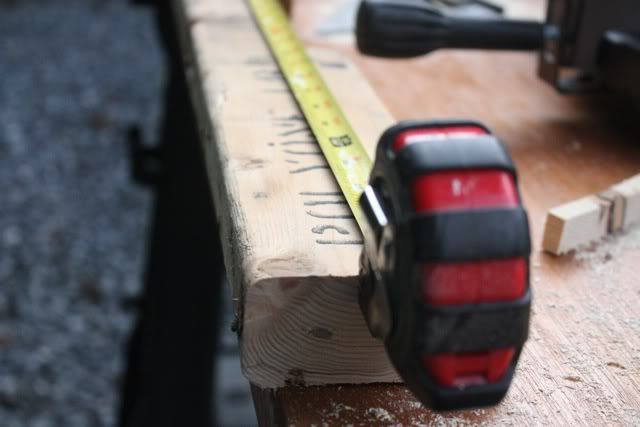
See his perfectly stacked pieces of wood?
Here they are in their natural state.
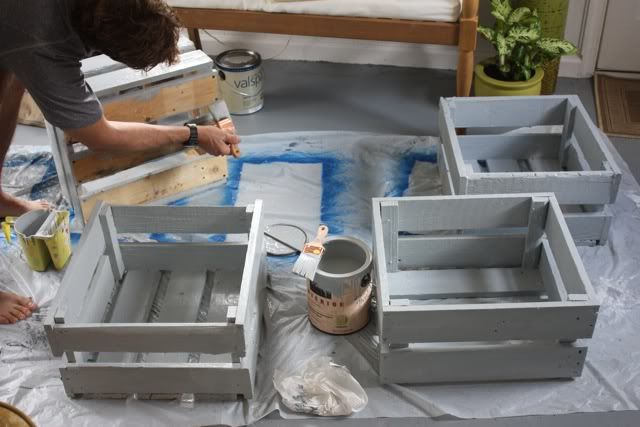
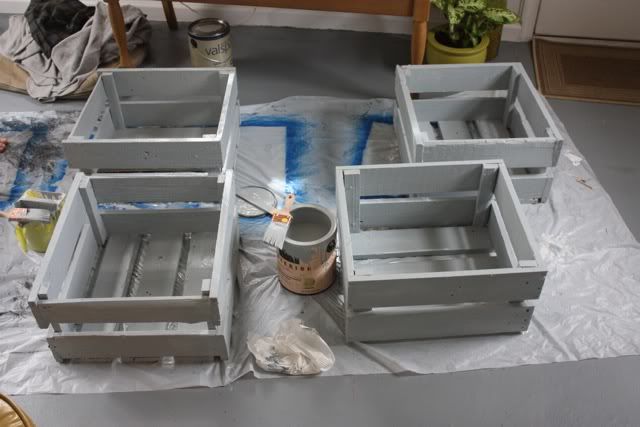
We decided we wanted to paint them, so we purchased a $5 mis-tint gallon and went to it.
We were really happy with the final result. Especially because they were free!
If you're wondering about the hello sign - that tutorial is here.

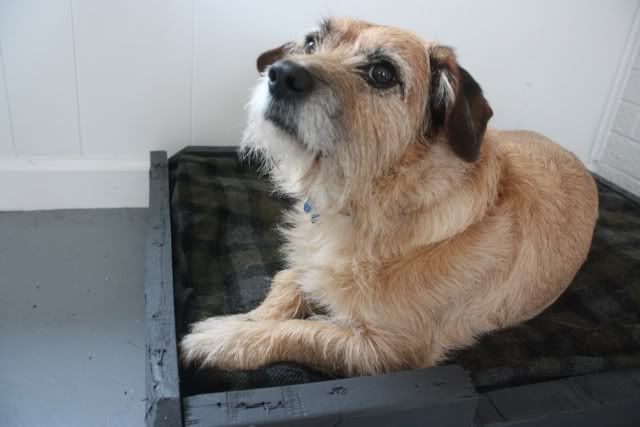
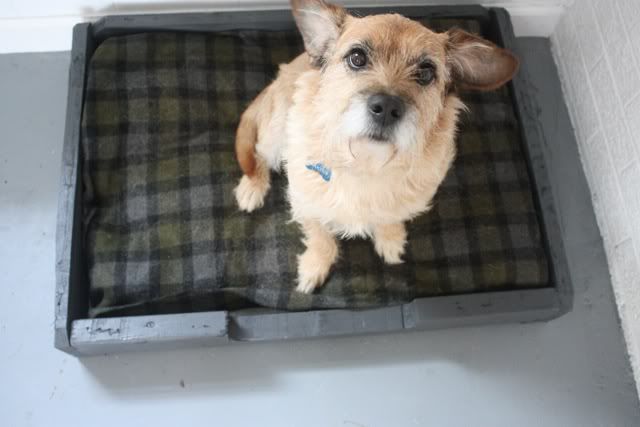
3) A dog bed for Baxter. One of the main reasons the idea for the mudroom started was Baxter. He comes in and out of this room and the carpet was quickly becoming stained with red Virginia clay.
Plus, it's a great room he can call his own. So, we decided to make a bed in there for him.
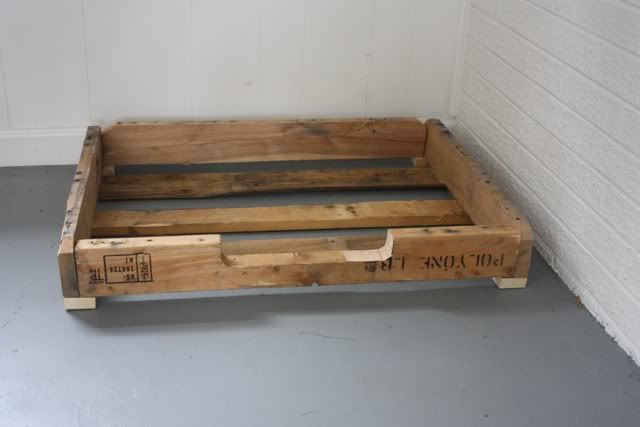
Josh used the same pallets and just sort of free handed this build. I had showed him this inspiration picture and he went off of that.
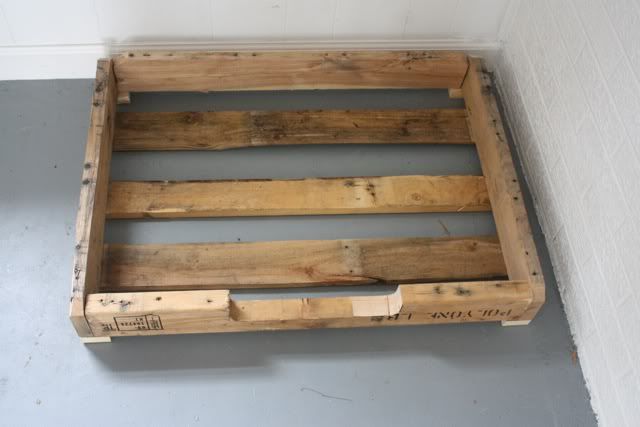
Baxter loves it.
4) A fabric covered bulletin board. I just took a regular old cork board I had lying around and un-hindged one of the corners so that I could remove the cork to cover it.
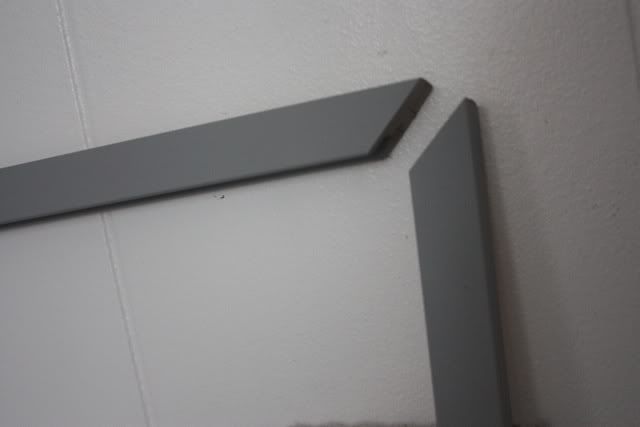
This also gave me time to spray paint the frame gray.
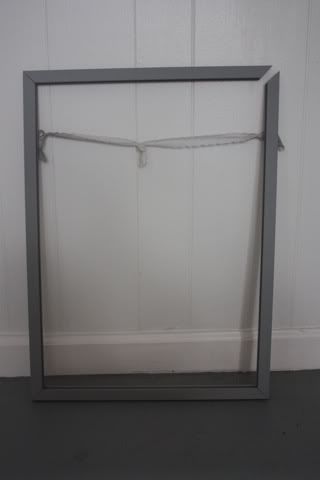
And then I had a perfect little note station.

5) Bird wall hangings. These were a $1 yard sale find and as you can see they were originally brown.
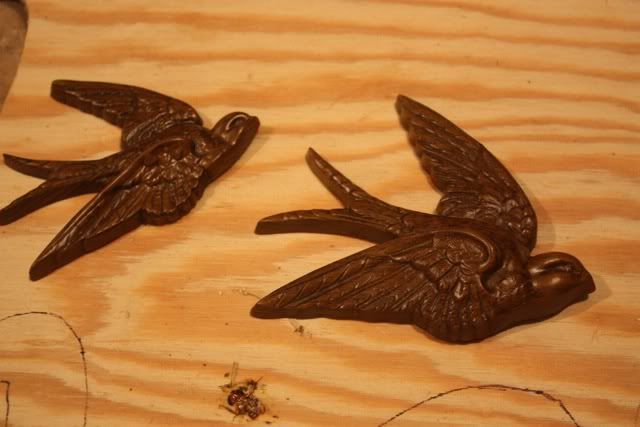
A few coats of aqua spray paint and now we have a fun pop of color on the wall.

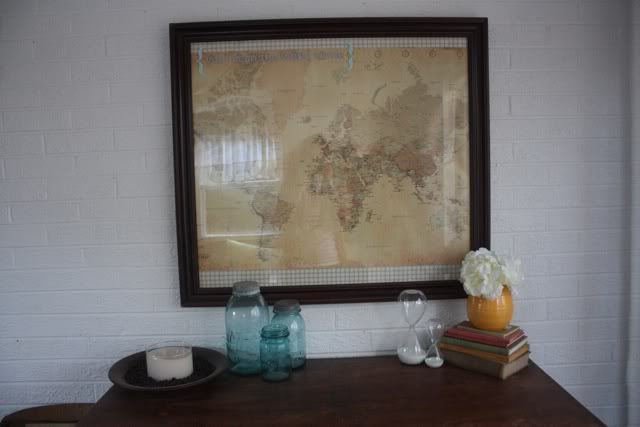
6) Vintage framed map. This was a 3-year anniversary present for Josh. He had always wanted one and I finally found one to frame for him. I wrote "you mean the world to me" on the frame.
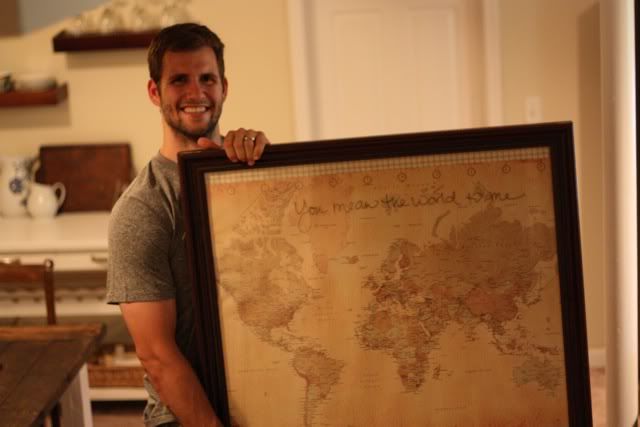
When we added it to the mudroom, I decided to make the "you mean the world to me" more prominent by writing it in stickers.

7) Installing the sliding glass door was the biggest project of all. It involved cutting through the wall, rerouting electrical, redoing drywall, and actually installing the door. Josh, with the help of our friend, Lucas, completed all the work themselves.
Here's what we started with:

And then after the wall removal:

Josh's sidekick wanting to get in on the action.
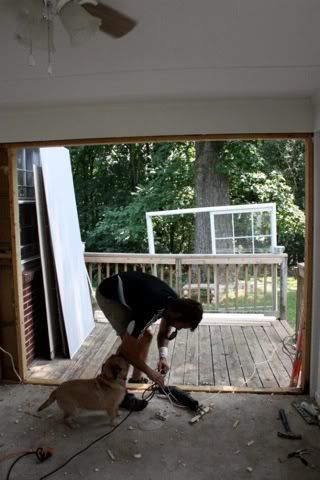
(You can get a glimpse of the comical miniature fan in this picture.)
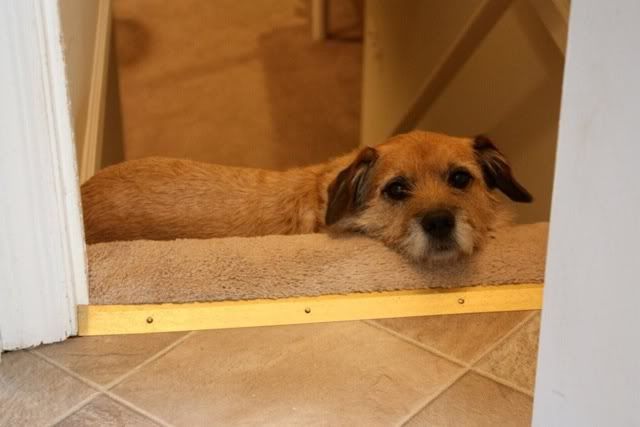
But poor Baxter was mostly resigned to this position while the work was in progress.
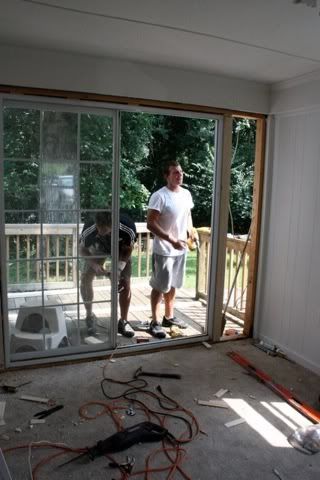
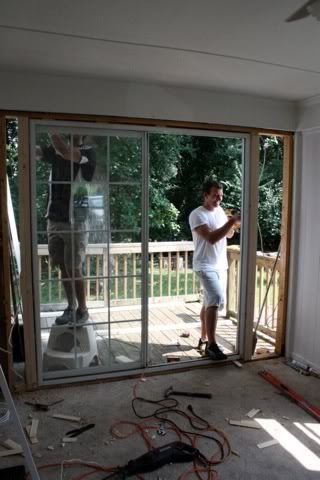
Installing the sliding glass door.
And putting in studs to redo drywall.
Finally all came together to equal this:
Here's what we started with:
And then after the wall removal:
Josh's sidekick wanting to get in on the action.
(You can get a glimpse of the comical miniature fan in this picture.)
But poor Baxter was mostly resigned to this position while the work was in progress.
Installing the sliding glass door.
And putting in studs to redo drywall.
Finally all came together to equal this:

We were able to save hundreds of dollars by purchasing this sliding glass door for $75 on craigslist.

The entire redo cost us less than $200 including the door.
And we couldn't be happier with the outcome.
Huge shout out to my handy hubby who made all of this possible!
Bring on the mud.
No comments:
Post a Comment
Will blog for comments.